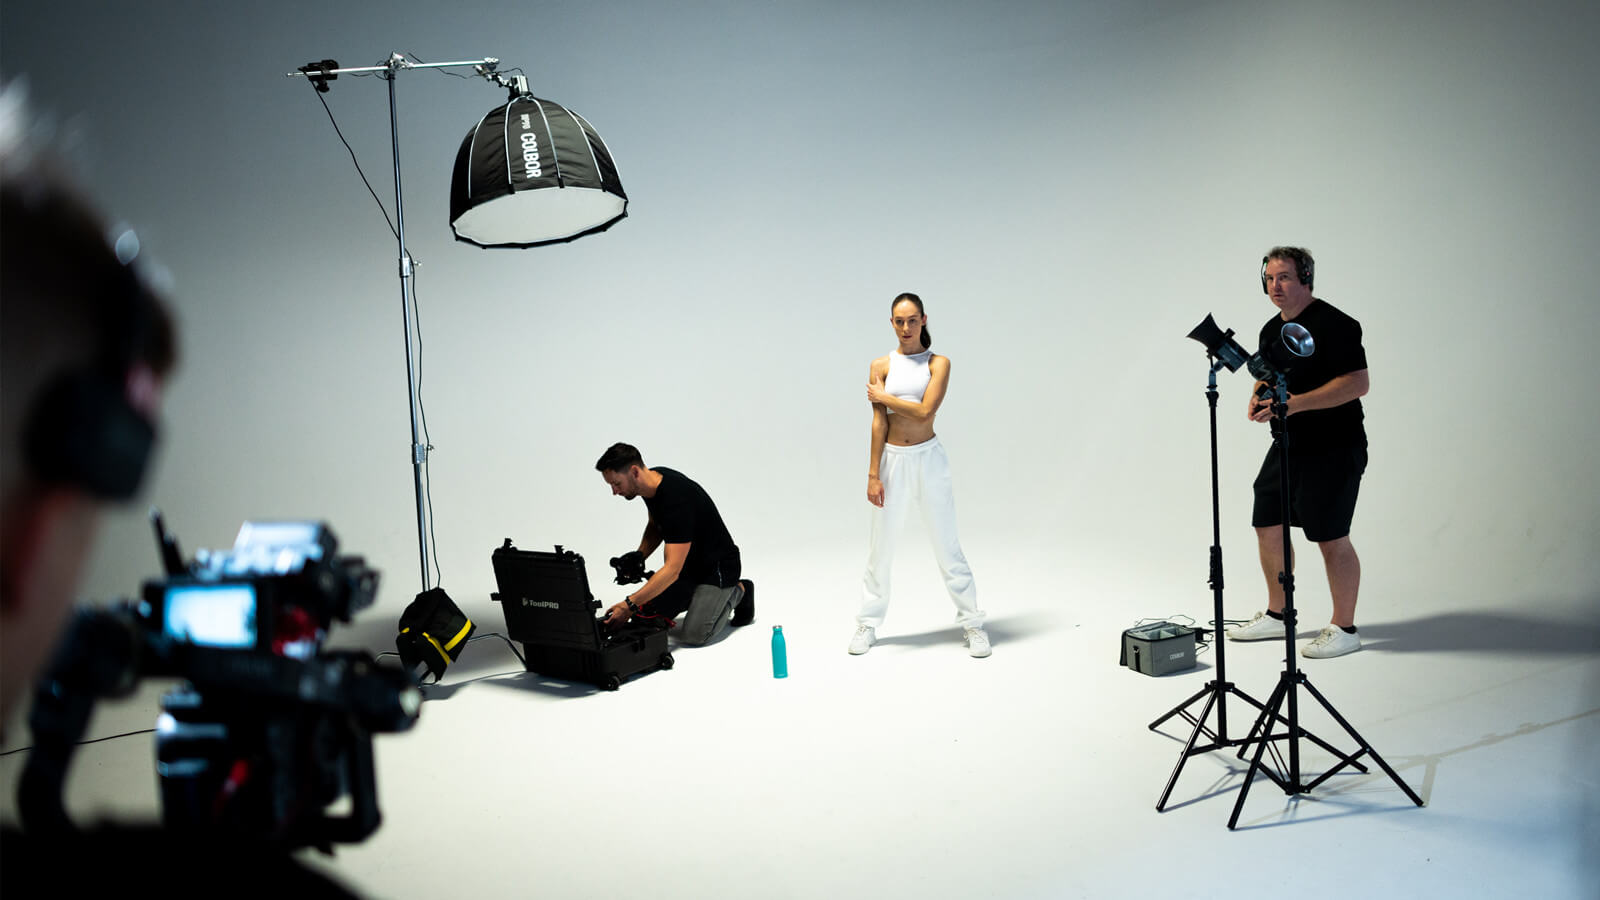
When we explore "why" content creators own or utilize studios, one of the key reasons is that studios provide a secure haven. They provide some control and stability as compared to shooting on site. Besides the weather, the most controllable factor in a studio is lighting, which is essential to videography and photography. But what camera studio lights to use? In this article, we will talk about the types, recommend some best picks, and tell how to use them to get perfect illumination.

What are the types of camera studio lights?
Based on the way how to use studio lighting with your camera, they can be divided into on and off camera studio lights.
On-camera lights for studio uses
On-camera studio lights are compact, portable lights that may be placed on top of a camera or camcorder. They are generally utilized to provide extra illumination while capturing photos or videos in low-light situations or when softer fill light is required for subjects in the frame.
These lights are often small and lightweight, making them ideal for run-and-gun video shooting and documentary-style filmmaking. They may employ LED technology for energy economy and customizable color temperature, giving them better control over the lighting quality.
Off-camera studio lights
Off-camera studio lights are any lighting system in which the light source is placed apart from the camera. This ensures more creative control over the lighting direction, intensity, and quality, which leads to a diverse spectrum of lighting effects and moods.
They generally include strobes, continuous lights, or even natural light sources like windows or reflectors. They are often used in portrait photography, fashion shots, product photography, and studio settings that need precise lighting control.
They are frequently used in conjunction with light modifiers like umbrellas, softboxes, beauty dishes, and grids to shape and manipulate the light for desired effects. This versatility enables photographers to shape the light to match the intended mood and style of the image.
To summarize, on-camera lights are useful for rapid, portable illumination right from the camera, but off-camera lights provide greater creative flexibility and versatility by isolating the light source from the camera. Both play critical roles in producing varied lighting effects and addressing the demands of various filming conditions in the studio.
Best camera studio lights: 4 COLBOR picks for different budgets
Choosing the best lights for camera studio can be tricky. You need to consider what you are going to use the lights for and what budget can balance the cost and performance. In this part, we will recommend 4 popular picks at COLBOR, including on-camera and off-camera studio lights. They are different in power output and offer some special features. Just read on and select the one that suits your lighting needs and is within your budget.
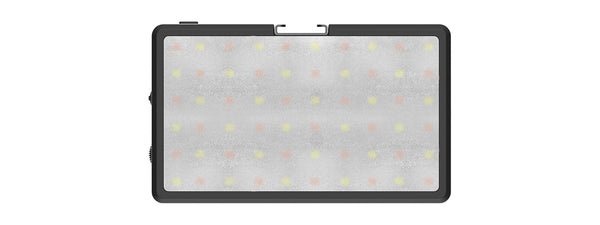
COLBOR PL8B: On camera LED light for studio under $50

The COLBOR PL8B is a portable light for photography and video that can be directly mounted on the camera with the supplied cold shoe accessory. A high CRI of 98+ ensures accurate color reproduction. The color temperature is adjustable from 2500K to 9000K and the brightness is dimmable from 100% to 0. All these make the PL8B perfect to work as a fill light in studio work. It can also be used off-camera thanks to its two 1/4’’ screw holes and magnetic back.
Features
- 98+ high CRI
- 2500-9000K adjustable color temperatures
- 0-100% changeable brightness
- 5000mAh Built-in Lithium battery for 125-min working time
- 10 preset lighting modes
- Wireless app control available
COLBOR CL60R: Camera studio light with full-color options under $200

The COLBOR CL60R is one of the RGB LED studio lights that offers up to 3,600,000 lighting colors in HSI mode. It comes with a light base for simple mounting on the stand to be used off-camera. It delivers 22,655lux of 5600k lighting at 1m used with the supplied reflector (*lab data). This allows it to work as the key light in small studios. The Magenta and Green adjustment function ensures perfect tones and color consistency in studio photography while the sensitive audio system adds dynamics and creativity to video shooting, live streaming, etc.
Features
- 97+ high CRI
- 2700-6500K adjustable color temperatures
- 0-100% changeable brightness
- Up to 3,600,000 lighting colors available
- Illumination: 2,082Lux (at 1m 5600K, No Reflector); 22,655Lux (at 1m 5600K, With Reflector)
- Magenta and Green adjustment for color consistency with already-have light sources in the studio
- Sensitive audio system for outputting corresponding lighting effects to the ambient sounds
- Bowens-mount adapter for compatibility with most standard modifiers
- 13 preset lighting modes
- Supports multiple power supplies such as V mount battery, PD power bank, and NP-F battery
- Wireless app control and remote control available
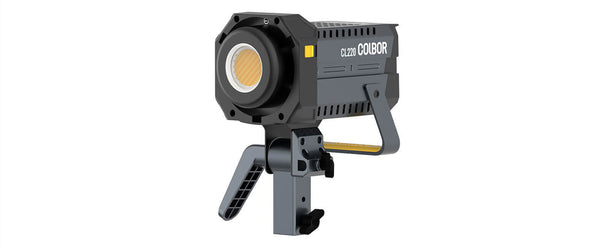
COLBOR CL220: Video and photo studio camera lighting under $350

The COLBOR CL220 is an LED constant light for photography and videography at a constant 220W power output. This interprets to 52,700lux of 5600K lighting at 1m when the CL220 is used with the supplied reflector. The CL220 camera studio light is powerful enough to serve as the primary light source in studio projects even in a large studio. The Bowens mount enables it to work with most standard modifiers to shape, direct, and diffuse the camera studio lighting. You can get more flexibility with its NATO grooves and NATO accessories.
Features
- 97+ high CRI
- 2700-6500K adjustable color temperatures
- 0-100% changeable brightness
- Illumination: 9,430Lux (at 1m 5600K, No Reflector); 52,700Lux (at 1m 5600K, With Reflector)
- Bowens-mount and NATO grooves for working with most standard modifiers and shooting accessories
- 10 preset lighting modes
- Wireless app control and remote control available
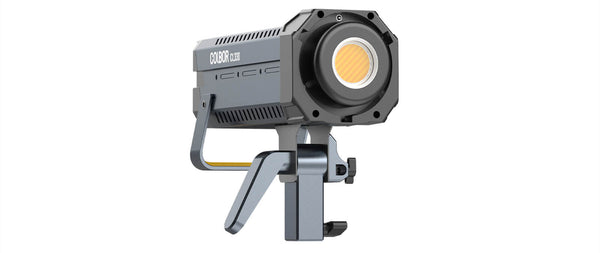
COLBOR CL330: 330W digital camera studio lighting under $500

The COLBOR CL330 is one of the LED lights for photography studio and video studio. Like the CL220, the CL330 is also powerful to work as the key light with the illumination of 65,800Lux (at 1m 5600K, With Reflector). It features Red/Green Color Balance to adjust the color tint. You can adjust it to red or green tint at 10 levels. This brings several benefits, such as color consistency with other camera studio lights, good skin tone in portraits, and appealing tone in food photography. Though featuring high power output, the noise level of the cooling fan is lower than 30dB when the CL330 is placed 1m away. This is especially important for noise-free filmmaking.
Features
- 97+ high CRI
- 2700-6500K adjustable color temperatures
- 0-100% changeable brightness
- Illumination: 12,400Lux (at 1m 5600K, No Reflector); 65,800Lux (at 1m 5600K, With Reflector)
- Red/Green Color Balance
- Bowens-mount and NATO grooves for working with most standard modifiers and shooting accessories
- 10 preset lighting modes
- Wireless app control and remote control available
How to use: Camera studio lighting setup for videography and photography
When using camera studio lights, the lighting setup for video recording and photo shooting can be different. In this part, we will talk about the camera studio lighting setup in the aspects of videography and photography. Read on to learn about the details.
Video tutorial on camera lighting setup in video studios
Video by David Zhou
In this video, the YouTuber David Zhou shows how to use a CL220 and 3 CL220R to achieve a 4-point lighting setup for high quality video lighting. He illustrates how to place and set each fixture to make them work as the key, fill, back, and background lights. it is also feasible to use the CL60R to deliver different colors of studio lighting to get cinematic illumination in your video creation. Check the video to learn about the detailed setup.
8 common camera lighting setups in photography studios
Here are 8 common setups that are often used in portrait photography. Read to learn what they are and how to achieve them.
Short lighting: In short lighting, the shot is taken such that the subject is illuminated from the side opposite the camera. This has a pleasing effect, making a face appear smaller and more characterful. To get this effect, place the camera at an angle away from the light source.
Split lighting: Half of the subject's face is illuminated while the other side is completely dark. This style is employed when the scene in the photo creates a gloomy atmosphere. This effect may be achieved by putting the camera studio light on one side of the face, illuminating that side while leaving the other dark.
Loop lighting: The full face is visible; nevertheless, one side of the face has a noticeable shadow, which adds to the drama. To achieve this, the light source should be positioned above the subject yet aimed at them at an angle.
Butterfly lighting: This takes its name from the butterfly-shaped shadow it casts below the nose. The light shines at a 45-degree angle above the models, throwing a shadow across them. This illuminates the entire face while simultaneously slimming it.
Rembrandt lighting: This is used in photography to create a more somber and harsh tone. It is identifiable by a triangle of light on the subject's cheek. To achieve it, the loop light above the model should be deviated to a 45-degree angle.
Broad lighting: In this setup, the angle of the face closest to the camera receives more light than the region distant from the camera. To obtain the total light effect, put the camera near the face at a 45-degree angle.
Catchlights: Catch lights are used to highlight the subject's face characteristics in portrait photography. Catchlight photography may be done using either natural or artificial lighting to get the desired effect.
Clamshell lighting: This is used to highlight the jawline and cheekbones. This involves light hitting the subject from above at a 45-degree angle, with a reflector positioned in the subject's lap.
Four camera studio lighting tips for better studio work
Besides investing in the best camera studio lighting equipment and using a suitable lighting setup, you also need to pay attention to some aspects before and during studio work for better outcomes. Here are 4 tips that you can follow.
Evaluate the studio environment to decide the camera lighting purpose
Look around, wherever you are now. You're part of a scenario. How will you define the lighting? What types of lighting are surrounding you? For example, are the lights in your room fluorescent or incandescent? Are the tones warm or cold? Are the lights single-pointed or diffused by soft panels?
All camera studio lights are not created equally. They all have distinct characteristics like brightness, softness, and color temperature. Different light sources can act together or against one another. Wherever you are, the first step in becoming a lighting master is to look around and see what you have available.
Pay attention to color temperatures
If you have used light bulbs and observed them, you will find that bright white, soft white, and cold white all have distinct looks that might be difficult to combine. These refer to color temperature, which is measured in kelvin.
As a photographer, you will need to become accustomed to thinking in terms of kelvin values. Your camera's auto-white balance won't help you here since it can only match one of the light hues to genuine white. The second or third kelvin value light will appear overly warm or cool, which will throw off your photo.
The goal is to constantly strive to match the color temperatures in your scene, especially if they are thrown onto your subject rather than merely being background components.
Use shadows to add contrast to your studio photography
Generally speaking, more light is better. However, contrast is how photographers add depth and intrigue to their photos. An image cannot have great contrast unless it contains both brighter and darker regions.
Take a minute when you're arranging your image to consider what you want dark and what you want light. Visualize it, then arrange your subjects or lighting to create contrast.
Consider using darkness as part of your technique to give your photographs a more dynamic aspect, resulting in a more interesting photographic outcome. Furthermore, removing light is generally less expensive and easier than adding light.
Create space between studio lights and the camera to avoid sharp reflection
Have you seen bright patches on your subjects' foreheads due to flashes? Are there bright specks in their eyes? This might be because the camera studio lights you are utilizing are too close to the lens. The beam of light is bouncing back into the camera from the source, resulting in a sharp reflection.
For portrait photography, it is ideal to have a key light on one side of the camera and a fill light on the other, both at least several feet apart. This will disperse the light and eliminate the unwanted bounce-back effects.
If you can't make a lighting setup like this, a ring lamp that wraps entirely around the camera is a decent option for soft portraits. This form of illumination prevents a single "hot spot" from emerging on the subject's face and effectively fills in shadows, making wrinkles and blemishes less visible.
