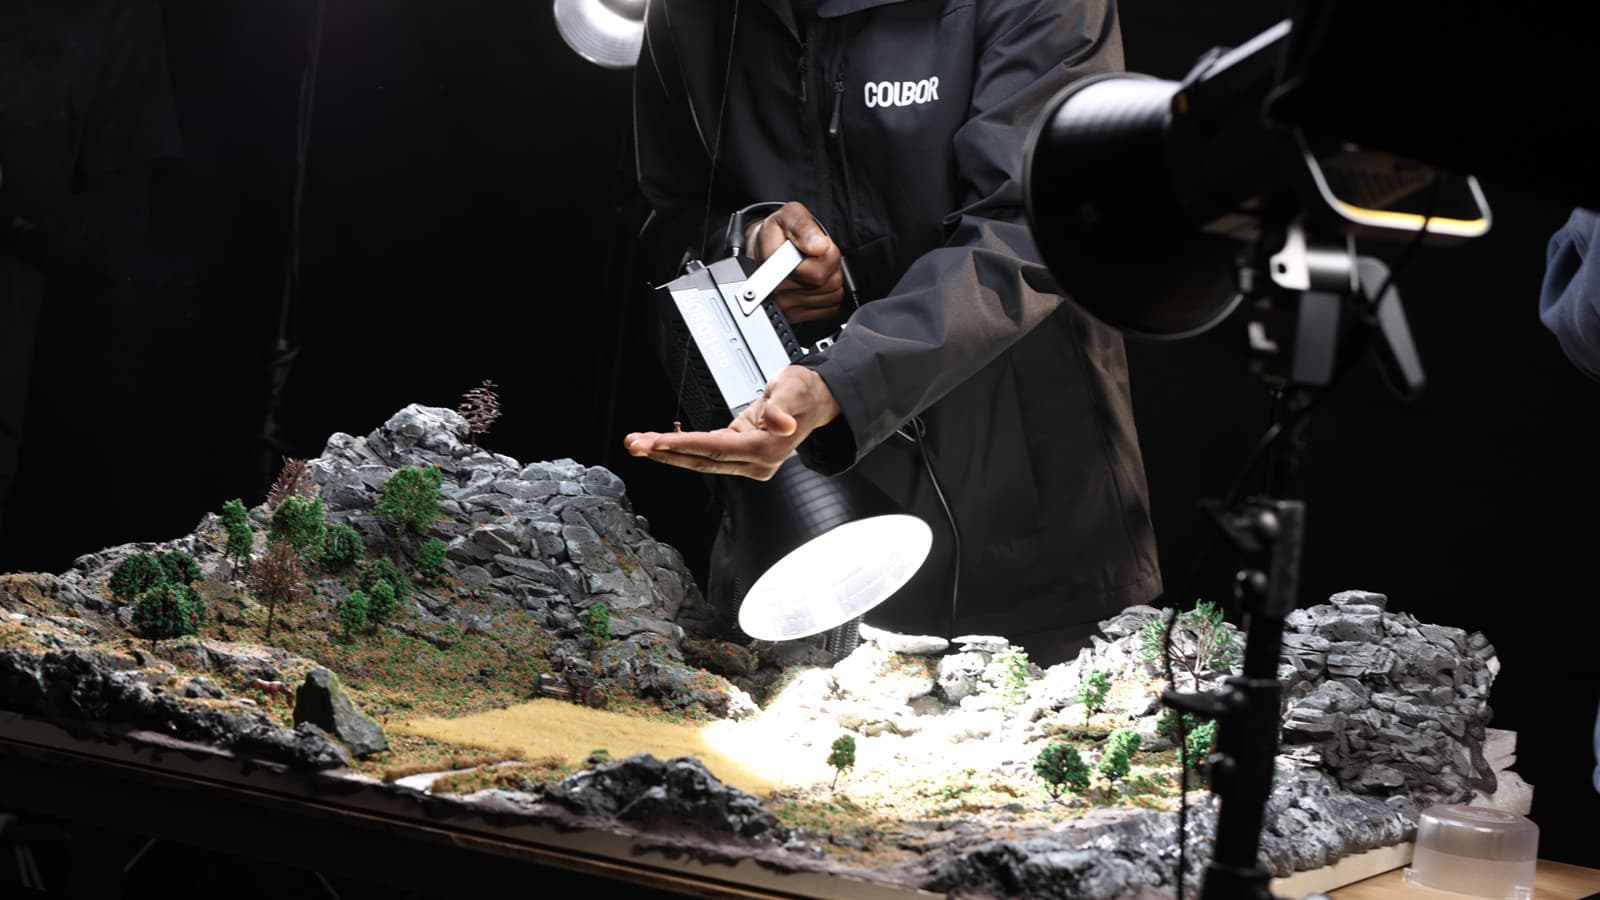
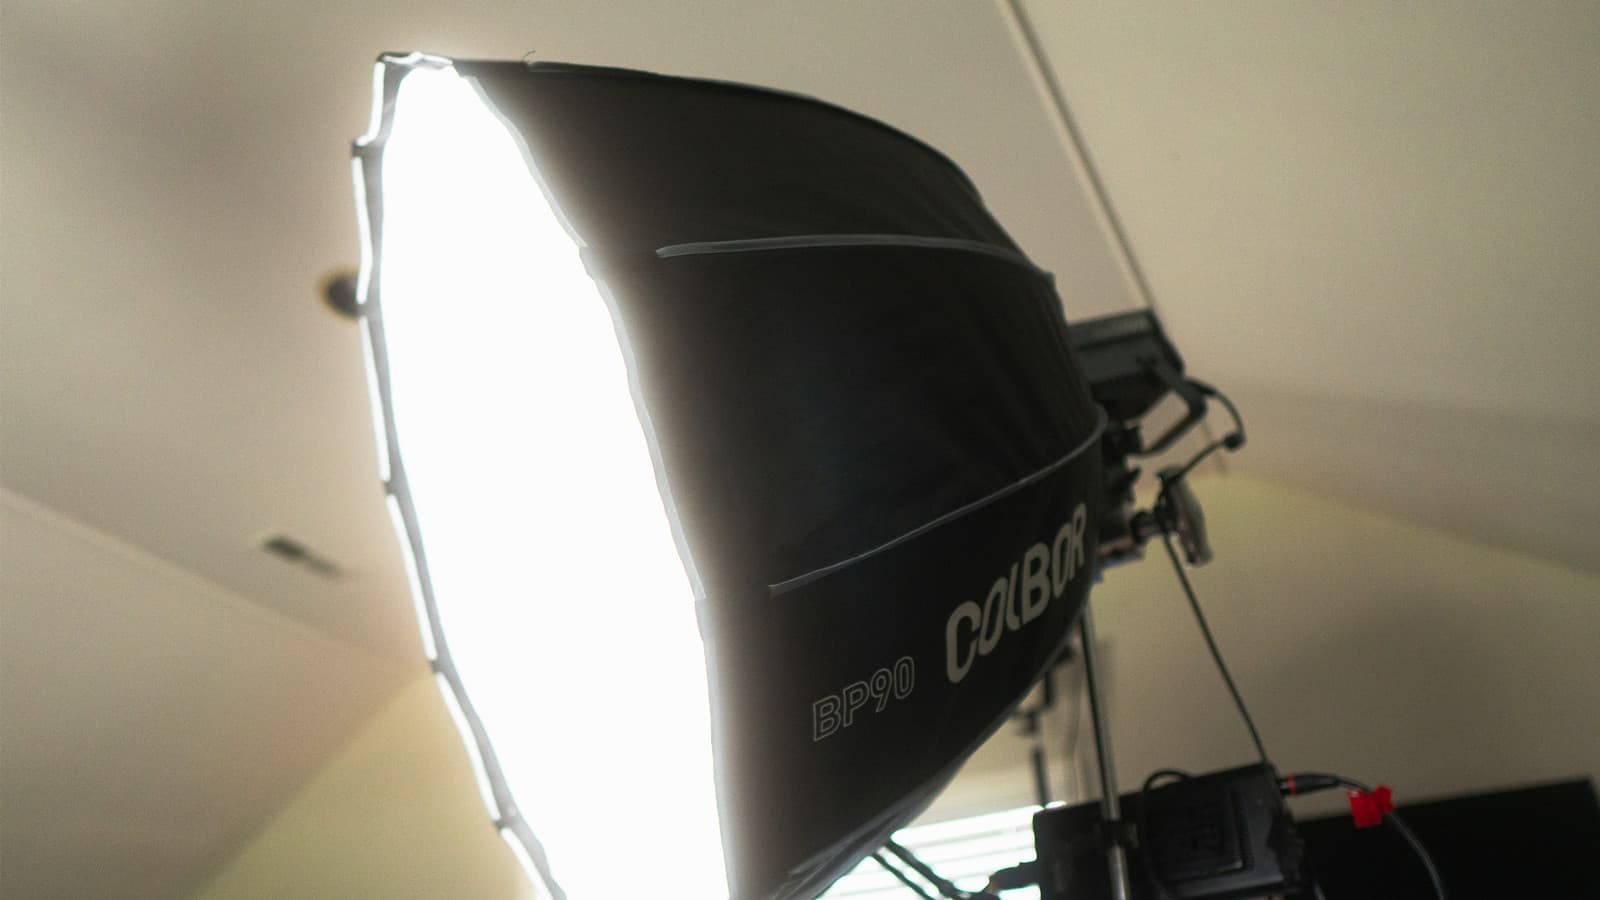
Continuous lighting remains illuminated continuously instead of activating only when the shutter button is pressed. This offers the benefit of previewing the light's direction and impact on your subject beforehand, simplifying the process of adjusting the lighting to achieve the desired effect before capturing the shot. Using continuous lighting for still life photography is a good choice for photographers who want the ‘what you see is what you get’ effect and simple-to-use equipment. Read on to learn about the following information of it.
- What is continuous lighting and why does it matter in still life photography?
- How to improve still life photo shooting with continuous lighting?
- What lighting tools are needed?

What is continuous lighting and why does it matter in still life photography
Continuous lighting is a lighting setup in which the light source is always illuminated, as opposed to strobe or flash lighting, which delivers short bursts of light.It is useful in still life photography lighting for various reasons.
- Constant illumination: Continuous lighting allows photographers to see exactly how the light falls on the subject in real-time, making it easier to change the lights' location and intensity to get the desired look.
- User-friendly: Compared to strobe lighting, continuous lighting solutions are typically easier to set up and run. Flash synchronization and timing of shots are not necessary.
- Previewing effects: Photographers may fine-tune the composition and lighting setup by using continuous lighting to see the subject's shadows and lighting effects before capturing the image.
- Appropriate for video: Strobes are unable to offer the constant illumination required for filmmaking, therefore continuous lighting is a must for video recording.
- Less scary for beginners: Continuous lights are frequently advised for still life photographers who want to learn about lighting methods without having to deal with the complexity of flash photography.
Overall, continuous lighting provides photographers with more control, versatility, and convenience of use, making it a popular option for still life photography.
How to harness continuous lighting for still life photography?
There are 4 steps to follow:
- See and study natural light if you use it as continuous lighting source in still life photography
- Decide the color temperature to create target mood in still photography
- Soften your continuous lighting for flattering still-life photos
- Block and reflect continuous lighting for still photography
Read on to get more details.
See and study natural light if you use it as continuous lighting source in still life photography
Learn to observe and analyze the quality of light around you. Select a spot where you can position a table near a window and create a simple scene, like a bowl of fruit or a vase of flowers. Throughout the day, capture photos of the same setup at one-hour intervals without altering anything. Secure your camera on a tripod for stability. Begin by setting your camera to ISO 100 and using Aperture Priority mode with an aperture ranging from f/5.6 to f/8.
By the day's end, you'll accumulate numerous images with consistent compositions but varying lighting conditions. Examine each photo closely, noting changes in shadows and light color, particularly if your window faces east or west. North and south-facing windows are also effective. Different seasons and locations will yield subtly different lighting effects, so consider repeating this exercise at various times of the year or in different places. For a thorough understanding, conduct this study over a 12-hour period.
Decide the color temperature to create target mood in still photography
After analyzing the light and identifying your preferred option, you can utilize it to establish the atmosphere in your still life photos. Whether you opt for a cheerful and bright ambiance, a somber and mysterious tone, an ethereal quality, or a dramatic flair is entirely your decision. Typically, still life photography employs side or backlighting techniques. Occasionally, shots are illuminated from above at a slight angle for images captured directly over the scene, known as lay-flat shots.
Soften your continuous lighting for flattering still-life photos

The next step is to effectively control your continuous lighting for still life photography. While you may have access to window light or artificial lighting, it often tends to be harsh. This will result in pronounced shadows which may not always be desirable. Therefore, it's necessary to soften the light. Placing a scrim or diffuser in front of your light source can help achieve this. This could range from a professional-grade diffuser to something as simple as attaching baking paper to a window. Alternatively, you can use a thin, sheer fabric or curtain affixed to a window. If you use artificial continuous lighting, you can use an umbrella, softbox, or sheer curtain attached to a hula hoop. The specific materials used are not crucial as long as they effectively soften the light.
Block and reflect continuous lighting for still life photography
There is one more step to take your still life photography to the next level. Consider blocking and reflecting light for added depth and detail. After softening light with a diffuser, use a reflector to bounce light back into shadows, highlighting finer nuances.
It's simple: white cardboard or foam core can serve as effective reflectors. Position them towards the light source, adjusting angles until they redirect light onto your subject, particularly beneficial for still life photography. Clamps can hold them in place for hands-free operation.
Alternatively, utilize matte black materials like foam core or cardboard to block unwanted light from specific areas of your scene, such as the background. Experiment with positioning to control light intensity and create dramatic effects.
These methods apply to both natural and artificial light settings. Spend a weekend exploring these techniques to understand light better, benefiting various photography genres, including portraits, landscapes, and macros.
What constant lighting tools do you need?
As aforementioned, you will need the following lighting tools:
Artificial light source: There are various continuous lighting options for novice or seasoned still-life photographers at COLBOR. For example, the COLBOR CL220 LED constant light is a good lighting choice for your still life photography. The 220W power output and dimmable intensity allow it to be used in small to large photography studios. It features a CRI of 97+, which means it can reproduce the colors of the subject accurately. The adjustable color temperatures make it simple to create various moods and atmospheres. It also gives more versatility and convenience to still life photography with the wide modifier compatibility and wireless control.
Reflectors/bounce cards/flags: A 5-in-1 unit offers a versatile solution, featuring a translucent base along with interchangeable White, Black/Silver, and Gold reflector covers. They come in various sizes. Additionally, foam core serves well as a reflector or flag and is readily available at art supply or camera stores. It's affordable and easy to customize by cutting to size.
Supporting devices: A robust tripod is essential for capturing long exposures effectively. Light stand for the artificial continuous light (if you use one).
Diffuser: Opt for white translucent fabric to cover window light, ensuring it diffuses gently. "White rip-stop nylon," commonly found in fabric stores, serves this purpose well. Additionally, it's available in black, suitable for crafting flags.
Background: Large foam core sheets in white, black, or other colors are versatile options for creating backgrounds in still life photography.
